

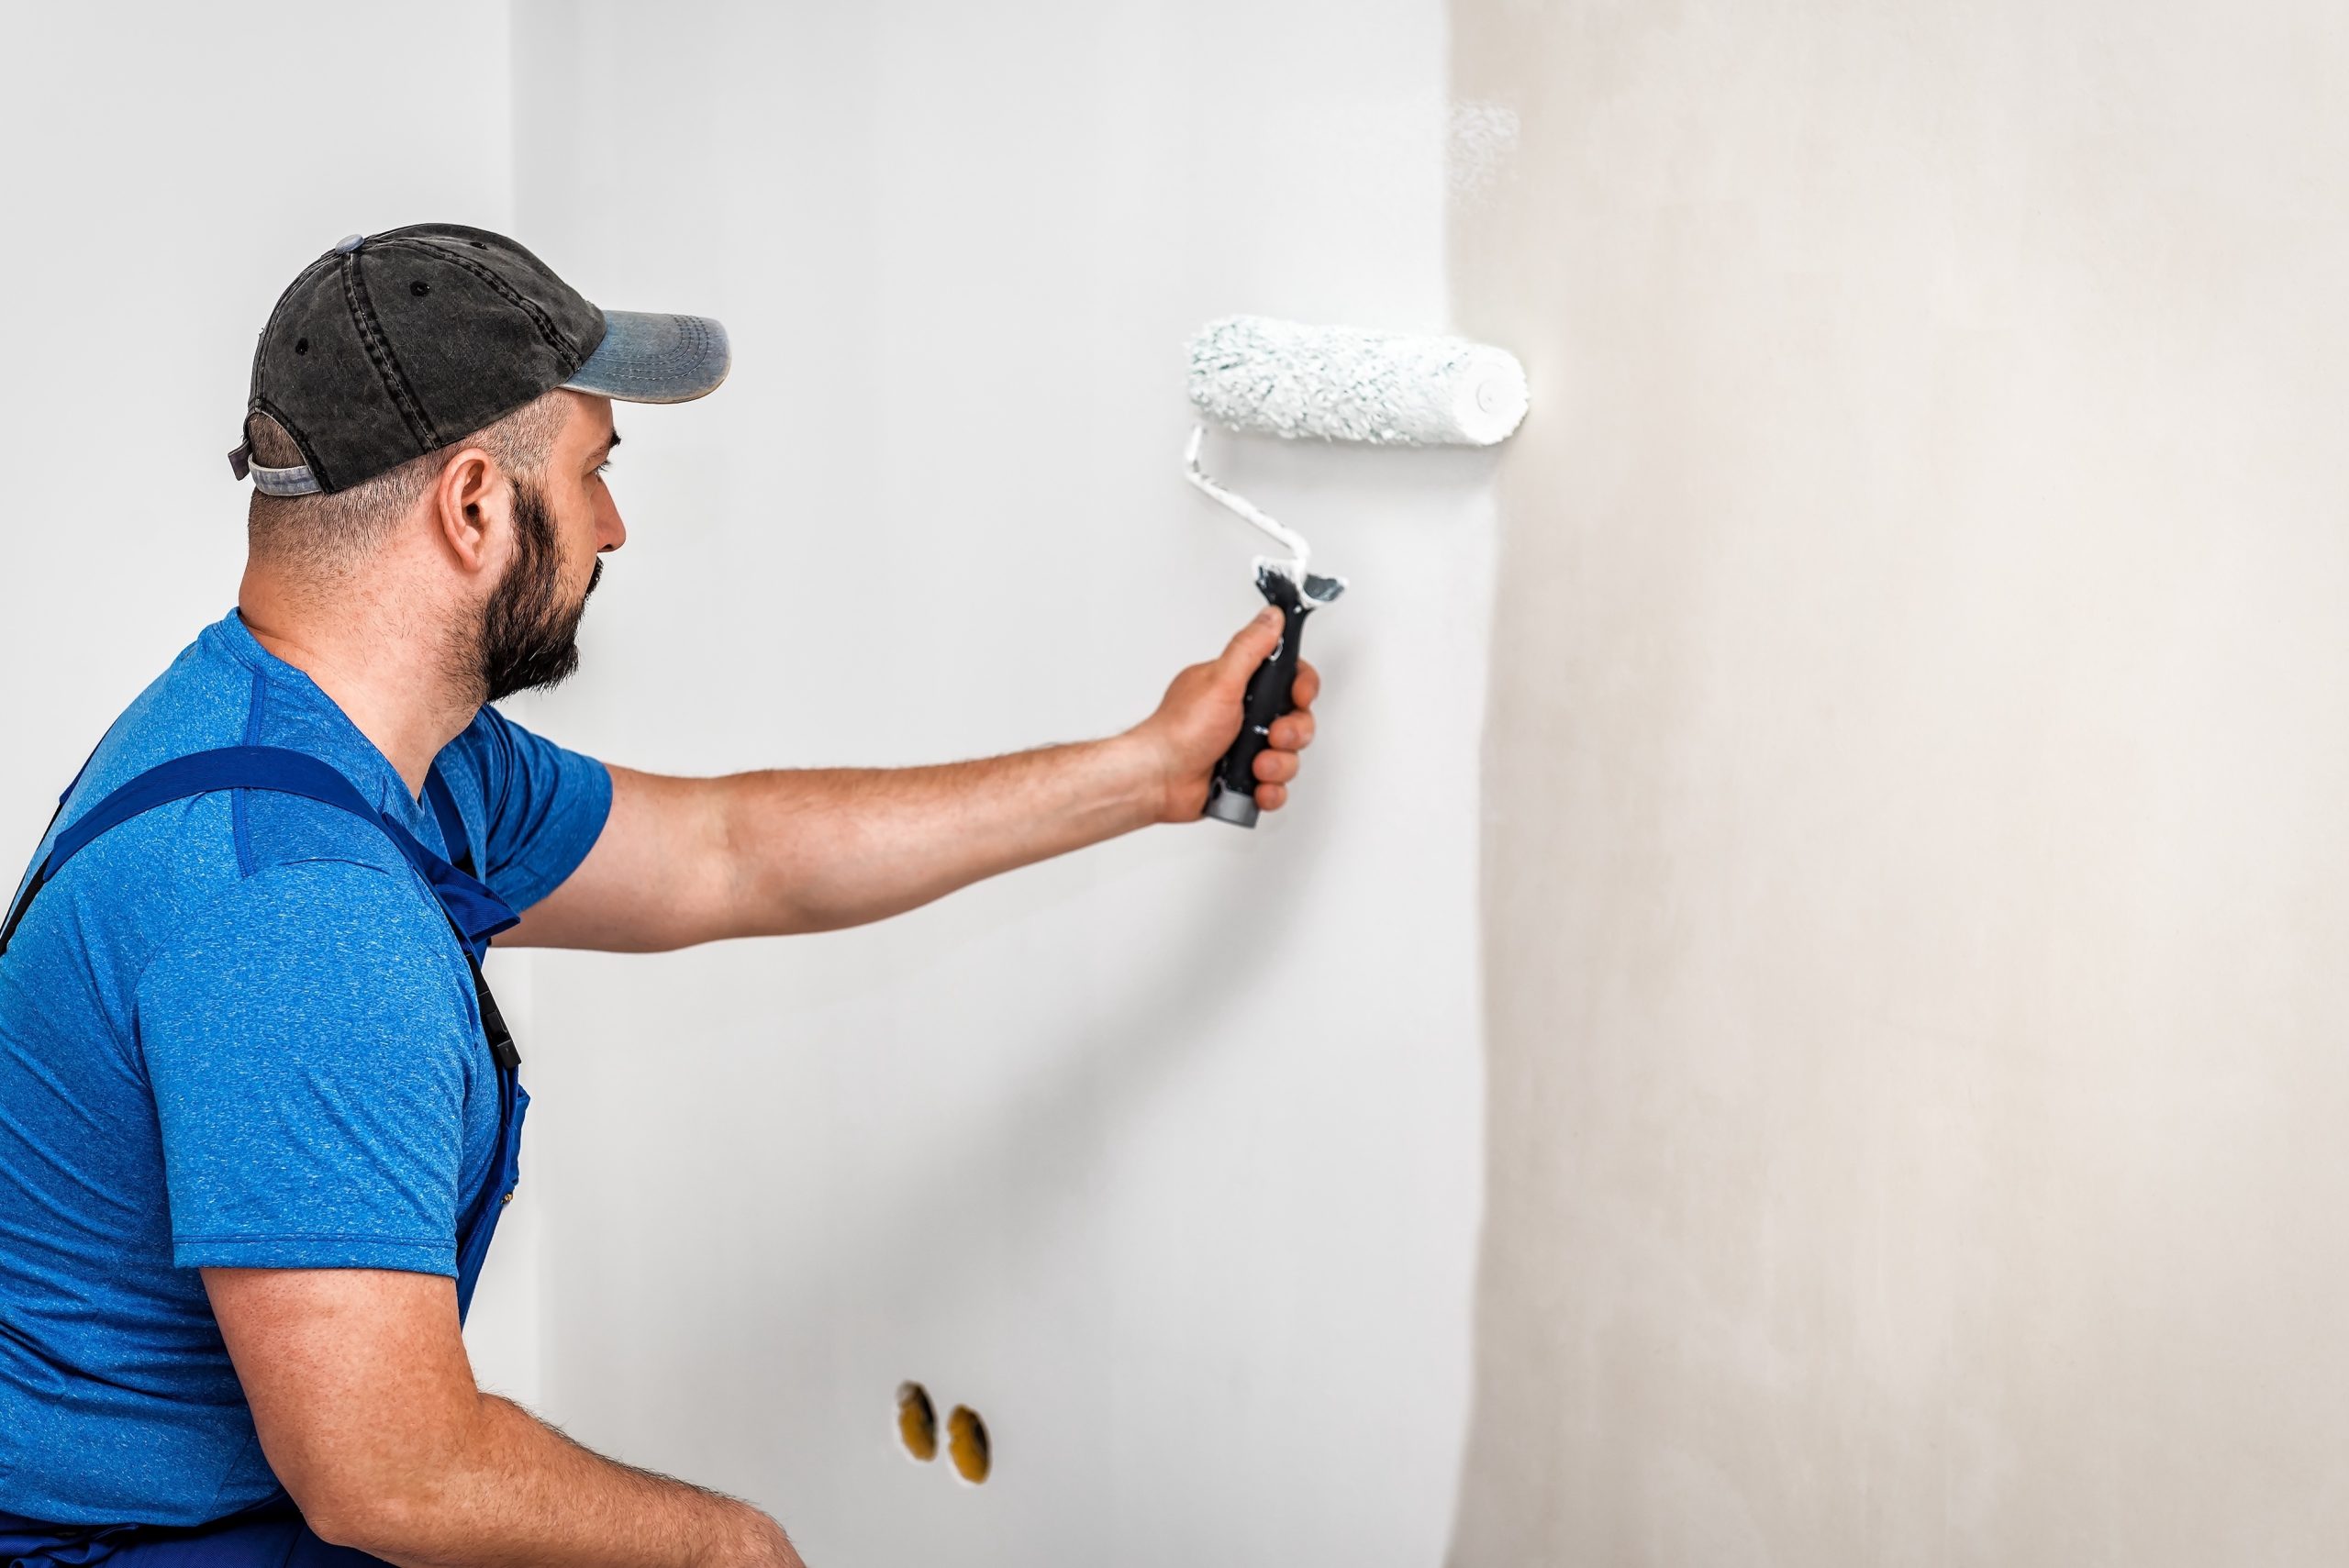
28 Oct Can You Paint Over Old Paint? A Homeowner’s Guide
If your home’s walls, trim, doors, or exterior siding already have paint on them, you may be wondering whether you can simply apply a fresh coat. The good news is that you can paint over old paint in many situations without removing the existing finish completely. However, the condition of the old paint and the surface underneath determine how much preparation is necessary.
If the existing paint is firmly attached, clean, and in good condition, a new coat may adhere well after appropriate preparation. If the old finish is peeling, cracking, glossy, stained, or damaged by moisture, additional steps may be needed before repainting.
Skipping these steps can lead to peeling, uneven coverage, poor adhesion, and other problems that shorten the life of your new paint job.
In this guide, Nate’s Painting, LLC explains when you can paint over old paint, how to prepare different surfaces, when primer is necessary, and what homeowners should know before starting an interior or exterior painting project.
Can You Paint Over Old Paint Without Sanding?
Sometimes. If the existing paint is in good condition, has a suitable finish, and is compatible with the new product, extensive sanding may not be necessary. However, cleaning and other preparation are still important.
The decision depends on the surface, the existing coating, and the paint you plan to use.
For example, a previously painted bedroom wall with a clean, matte finish may need little more than minor repairs and cleaning before repainting. A glossy door or painted cabinet, on the other hand, may require sanding or a compatible bonding primer to help the new coating adhere.
Here are some general guidelines:
Sound, matte-painted walls: Often can be repainted after cleaning, minor repairs, and appropriate preparation.
Glossy painted surfaces: May require deglossing, sanding, or a bonding primer, depending on the product.
Peeling or cracking paint: Loose and failing material must be addressed before repainting.
Stained surfaces: May need a stain-blocking primer to prevent discoloration from showing through.
Bare or repaired areas: May require primer to create a more uniform surface.
Moisture-damaged surfaces: The underlying moisture problem must be corrected before repainting.
The key is not simply whether old paint is present. It is whether the existing finish provides a sound foundation for the new coating.
Why Does the Condition of Old Paint Matter?
Paint adheres to the surface beneath it. When that surface is stable, clean, and properly prepared, the new paint has a better chance of bonding successfully.
However, when the existing finish is failing, applying another layer over it does not solve the underlying problem.
Peeling and Flaking Paint
Peeling paint is one of the clearest signs that preparation is needed. If the old coating is separating from the surface, the new paint may come off along with it.
Loose paint should be removed to a sound edge, and the underlying material should be evaluated. Depending on the cause and extent of the damage, scraping, sanding, priming, repairs, or more extensive removal may be necessary.
Cracked or Blistered Paint
Cracks and blisters may indicate an aging coating, poor adhesion, excessive heat, trapped moisture, or another underlying issue.
Before repainting, determine why the damage occurred. Painting over the affected area without addressing the cause may lead to the same problem returning.
If moisture is involved, the source should be identified and corrected before the surface is refinished.
Glossy Paint
Glossy surfaces can be more challenging because a smooth finish may not provide the mechanical adhesion needed by some new coatings.
Depending on the product and surface, lightly sanding the existing finish, using a suitable deglossing product, or applying a compatible bonding primer may help.
Always follow the product instructions and test the preparation method on a small area when appropriate.
Stains and Discoloration
Water stains, smoke residue, grease, and other discoloration may show through a new coat of paint.
Cleaning may resolve some surface contamination, but persistent stains often require a suitable stain-blocking primer. If the discoloration is related to a leak, mold, or another moisture problem, the underlying issue must be addressed first.
How to Prepare Old Painted Walls Before Repainting
Proper preparation can make a significant difference in the appearance and performance of a new paint job. The exact process varies depending on the condition of the wall, but the following steps provide a useful starting point.
Step 1: Inspect the Existing Paint
Begin by examining the walls under good lighting. Look for peeling, cracking, bubbling, chalky residue, stains, holes, and other surface defects.
Pay attention to areas around windows, ceilings, plumbing fixtures, and exterior walls where moisture-related problems may occur.
If the paint appears to be in good condition, preparation may be relatively straightforward. If the coating is failing or the wall shows signs of damage, further investigation may be needed before painting.
Step 2: Clean the Surface
Dust, dirt, grease, and other contaminants can interfere with paint adhesion.
Clean the walls using a method appropriate for the surface and the type of contamination. Kitchens may need more thorough cleaning than a lightly used bedroom, for example.
Avoid leaving cleaning residue behind, and allow the surface to dry completely before applying paint.
If you suspect the surface contains lead-based paint, avoid dry sanding or scraping until you have determined the appropriate safety precautions.
Step 3: Remove Loose or Failing Paint
Paint that is already separating from the surface should not simply be covered with a new coat.
Carefully remove loose material using an appropriate method, taking care not to damage the underlying surface. Feathering the edges of remaining paint may help reduce visible transitions between painted and repaired areas.
Extensive peeling may indicate a larger adhesion or moisture problem that needs to be resolved before repainting.
Step 4: Repair Surface Imperfections
Fill appropriate nail holes, small dents, and minor imperfections with a compatible repair product. Larger cracks or damaged drywall may require more extensive repairs.
Once repairs have dried, sand them as appropriate to create a smooth transition between the repaired areas and the surrounding surface.
Remove sanding dust before moving on to primer or paint.
Step 5: Sand When Necessary
Sanding is not always required across an entire wall, but it can help smooth rough areas, remove loose edges, and prepare certain glossy surfaces.
Use a suitable abrasive and avoid unnecessarily aggressive sanding. The objective is to prepare the surface for the next coating, not to remove all the old paint.
If the home was built before 1978 in the United States, old paint may contain lead. Disturbing lead-based paint can create hazardous dust. Before sanding or scraping older paint, assess the potential lead risk and use applicable lead-safe procedures.
Step 6: Apply Primer Where Needed
Primer may be necessary on repaired areas, bare surfaces, stains, or existing coatings that require additional help with adhesion.
Choose a primer compatible with the surface and the intended finish paint. For example, a drywall primer serves a different purpose from a stain-blocking primer or a bonding primer.
Allow the primer to dry according to the manufacturer’s instructions before applying finish paint.
Step 7: Apply the New Paint
Once the surface is properly prepared, apply the selected paint according to the manufacturer’s instructions.
Most interior wall repainting projects benefit from two finish coats, although the exact number depends on the product, color change, and coverage achieved.
Allow the appropriate drying time between coats and inspect the finished surface for uniform coverage.
Do You Need Primer When Painting Over Old Paint?
Not always. If the existing paint is sound, clean, and compatible with the new coating, you may be able to apply the new paint directly after suitable preparation.
Primer becomes more important when the surface has characteristics that could affect adhesion, coverage, or the final appearance.
You may need primer when:
Painting over repaired drywall or exposed joint compound.
Covering persistent stains or discoloration.
Switching from a dark color to a much lighter shade.
Painting over a surface that requires a bonding primer.
Repainting bare wood or other unpainted material.
Addressing chalky or porous surfaces with a suitable preparation system.
A primer can improve the outcome, but it is not a universal solution. It will not reliably fix peeling paint, active moisture problems, or an unstable substrate.
For the best result, select the primer and finish paint based on the surface condition and the manufacturer’s recommendations.
Can You Paint Over Old Paint Without Removing It?
Yes, provided the existing paint is sufficiently stable and the surface is suitable for repainting.
You generally do not need to strip a wall down to bare drywall just because you want a new color. In many homes, properly preparing the existing finish is enough to create a suitable base for fresh paint.
However, removal may be necessary when the coating is extensively deteriorated, incompatible with the intended finish, or preventing proper adhesion. In some cases, repairs or more extensive preparation are required to address the underlying substrate.
For exterior surfaces, the decision may also depend on exposure to weather, the material being painted, and the condition of the previous coating.
The goal is to create a stable, clean surface, not to remove paint unnecessarily.
Can You Paint Over Old Exterior Paint?
Yes. Many homes can be repainted over an existing exterior coating, but outdoor surfaces require particular attention because they are exposed to changing temperatures, sunlight, rain, and moisture.
Before repainting exterior siding or trim, inspect the existing finish for peeling, cracking, chalking, exposed wood, and other signs of deterioration.
Preparation may include cleaning, removing loose paint, sanding appropriate surfaces, repairing damaged material, and applying primer where needed.
Wood Siding and Trim
Wood surfaces should be inspected for rot, moisture damage, loose paint, and exposed areas. Any significant deterioration should be addressed before repainting.
Bare wood and areas where old paint has been removed may require a compatible primer. The selected exterior paint should be suitable for the wood and the conditions to which it is exposed.
Stucco
Stucco requires an assessment of cracking, moisture, surface integrity, and the existing coating. Painting should not be used to conceal significant cracks or underlying moisture problems.
The paint system should be compatible with the stucco and appropriate for its condition.
Previously Painted Brick
Brick is porous, so moisture movement is an important consideration. Before repainting, evaluate the masonry, the condition of the existing coating, and whether the proposed product is suitable for the surface.
Exterior Trim
Trim can experience considerable exposure to rain, sunlight, and temperature changes. Remove failing paint, prepare the surface appropriately, and prime bare areas where needed before applying a compatible exterior coating.
Because Minnesota weather can affect application and drying, exterior painting should be scheduled when conditions meet the paint manufacturer’s requirements.
What Happens If You Paint Over Old Paint Without Preparing It?
Skipping preparation can cause several problems, even when you use a high-quality paint.
Peeling and flaking: New paint may detach along with the old coating if the existing finish is loose or poorly bonded.
Uneven color: Stains, patches, and differences in surface absorption can create inconsistent coverage.
Poor adhesion: Dirt, grease, glossy finishes, and incompatible coatings can interfere with bonding.
Visible surface defects: Painting over cracks, rough edges, or damaged material may leave those imperfections visible.
Premature deterioration: If the underlying cause of the paint failure is not addressed, the new coating may fail sooner than expected.
Preparing the surface correctly can help avoid unnecessary rework and improve the finished appearance.
How Do You Know When It’s Time to Hire a Professional Painter?
Small repainting projects may be manageable for homeowners with the right tools and preparation skills. However, certain situations can make professional assistance particularly valuable.
Consider hiring a painting contractor when your project involves extensive peeling, significant wall repairs, difficult color changes, high ceilings, complicated trim, or large exterior surfaces.
Professional help may also be worthwhile if you are unsure which primer or paint product is appropriate, or if you suspect the old coating has an underlying adhesion or moisture problem.
Nate’s Painting, LLC provides residential painting services throughout the Twin Cities area. Our team can help assess your painting needs, discuss preparation requirements, and provide an estimate based on the work involved.
Give Your Home a Fresh Finish With Nate’s Painting
Can you paint over old paint? In many cases, absolutely. The key is making sure the existing coating is sound, preparing the surface properly, and choosing paint and primer products suited to the job.
Whether you’re refreshing interior walls, repainting trim, or updating your home’s exterior, taking the time to prepare correctly can help you achieve a more consistent and durable finish.
If you’re planning a residential painting project in the Twin Cities area, contact Nate’s Painting, LLC to discuss your goals and request a free estimate. We’ll help you understand the work involved and plan the next steps toward a refreshed home.
FAQs
Yes, in some situations. If the existing paint is sound and has a suitable finish, cleaning and minor preparation may be enough. Glossy surfaces, rough areas, and peeling paint may require additional preparation, including sanding where appropriate.
Usually not. Sound, well-adhered paint can often remain in place. However, loose or failing paint must be addressed, and extensive deterioration may require more comprehensive removal or repairs.
Primer is not always necessary. It may be recommended for stains, bare surfaces, repaired areas, dramatic color changes, or surfaces that need improved adhesion. Choose a primer suited to the specific conditions.
You should not simply paint over peeling paint. Remove loose material, determine the cause of the failure, repair the surface as necessary, and prime where appropriate before applying the new finish.
Two finish coats are generally recommended for consistent coverage. One coat may be sufficient in some circumstances, while additional coats may be needed for difficult color changes or incomplete coverage.
Yes, many exterior surfaces can be repainted, provided the existing coating is stable and the surfaces are properly prepared. Weather conditions, moisture, surface material, and paint compatibility should all be considered.
Not always. Older paint may contain lead, particularly in homes built before 1978 in the United States. Before sanding or scraping potentially lead-containing paint, assess the risk and follow appropriate lead-safe procedures.
Sorry, the comment form is closed at this time.